Audio-Reactivity in Unity (the making of audiobook.gallery [part 2])
By Sam Lowe
Partner, recycleReality
January 19, 2024
6 min read
Welcome back to the second installment in our blog series on the making of audiobook.gallery. In part one, we discussed the origin of and design specifications for the project, as well as some of the challenges we tackled building a cross-platform VR experience for the web. Make sure to read that post if you’re curious about the background on what we’ll be diving into here.
Continuing from where we left off, today we’ll take a closer look at the toolchain and code that supports the audio-reactive features of the gallery. Audiobook is an inherently multi-sensory experience: music and art together representing a complete work. We wanted to lean into the strengths of digital media to create an environment that couldn’t exist elsewhere, so using audio-reactivity to deepen the connection between the art and music was a natural avenue for the project.
Audiovisual Experimentations: Chunity
The subject of my first blog post for recycleReality was my time at Stanford’s Center for Computer Research in Music and Acoustics (CCRMA), culminating in my experience as part of the Stanford Laptop Orchestra. My first forays into Unity development happened during this period, specifically in Ge Wang’s Music, Computing, and Design course.
Throughout the course, we developed a variety of audiovisual interactables in Unity - an audio visualizer, a sequencer, a synthesizer - using Chunity (ChucK for Unity). ChucK is a programming language designed for musical composition; it’s what Ge describes as a strongly-timed language, given that all advancement of “clock time” is directly managed by the programmer. This is a distinct paradigm when compared to other languages, but it lends itself very naturally to music. After Python in my AI courses, I would say I probably wrote more code in ChucK than any other language while at Stanford.
Despite this familiarity, I think it’s a fair evaluation to say that Chunity is probably not the best choice for anything that’s headed for production. It’s an ongoing research effort at CCRMA, and while support for WebGL has been added in the past year or so, the complexity of audiobook.gallery necessitated making decisions about the toolchain that would reduce potential points of failure. After a brief consideration of Unity’s built-in audio engine and a review of the alternatives, we elected to build out our audio-reactivity functionality using FMOD.
A Toolchain (and a DAW) for Game Development: FMOD
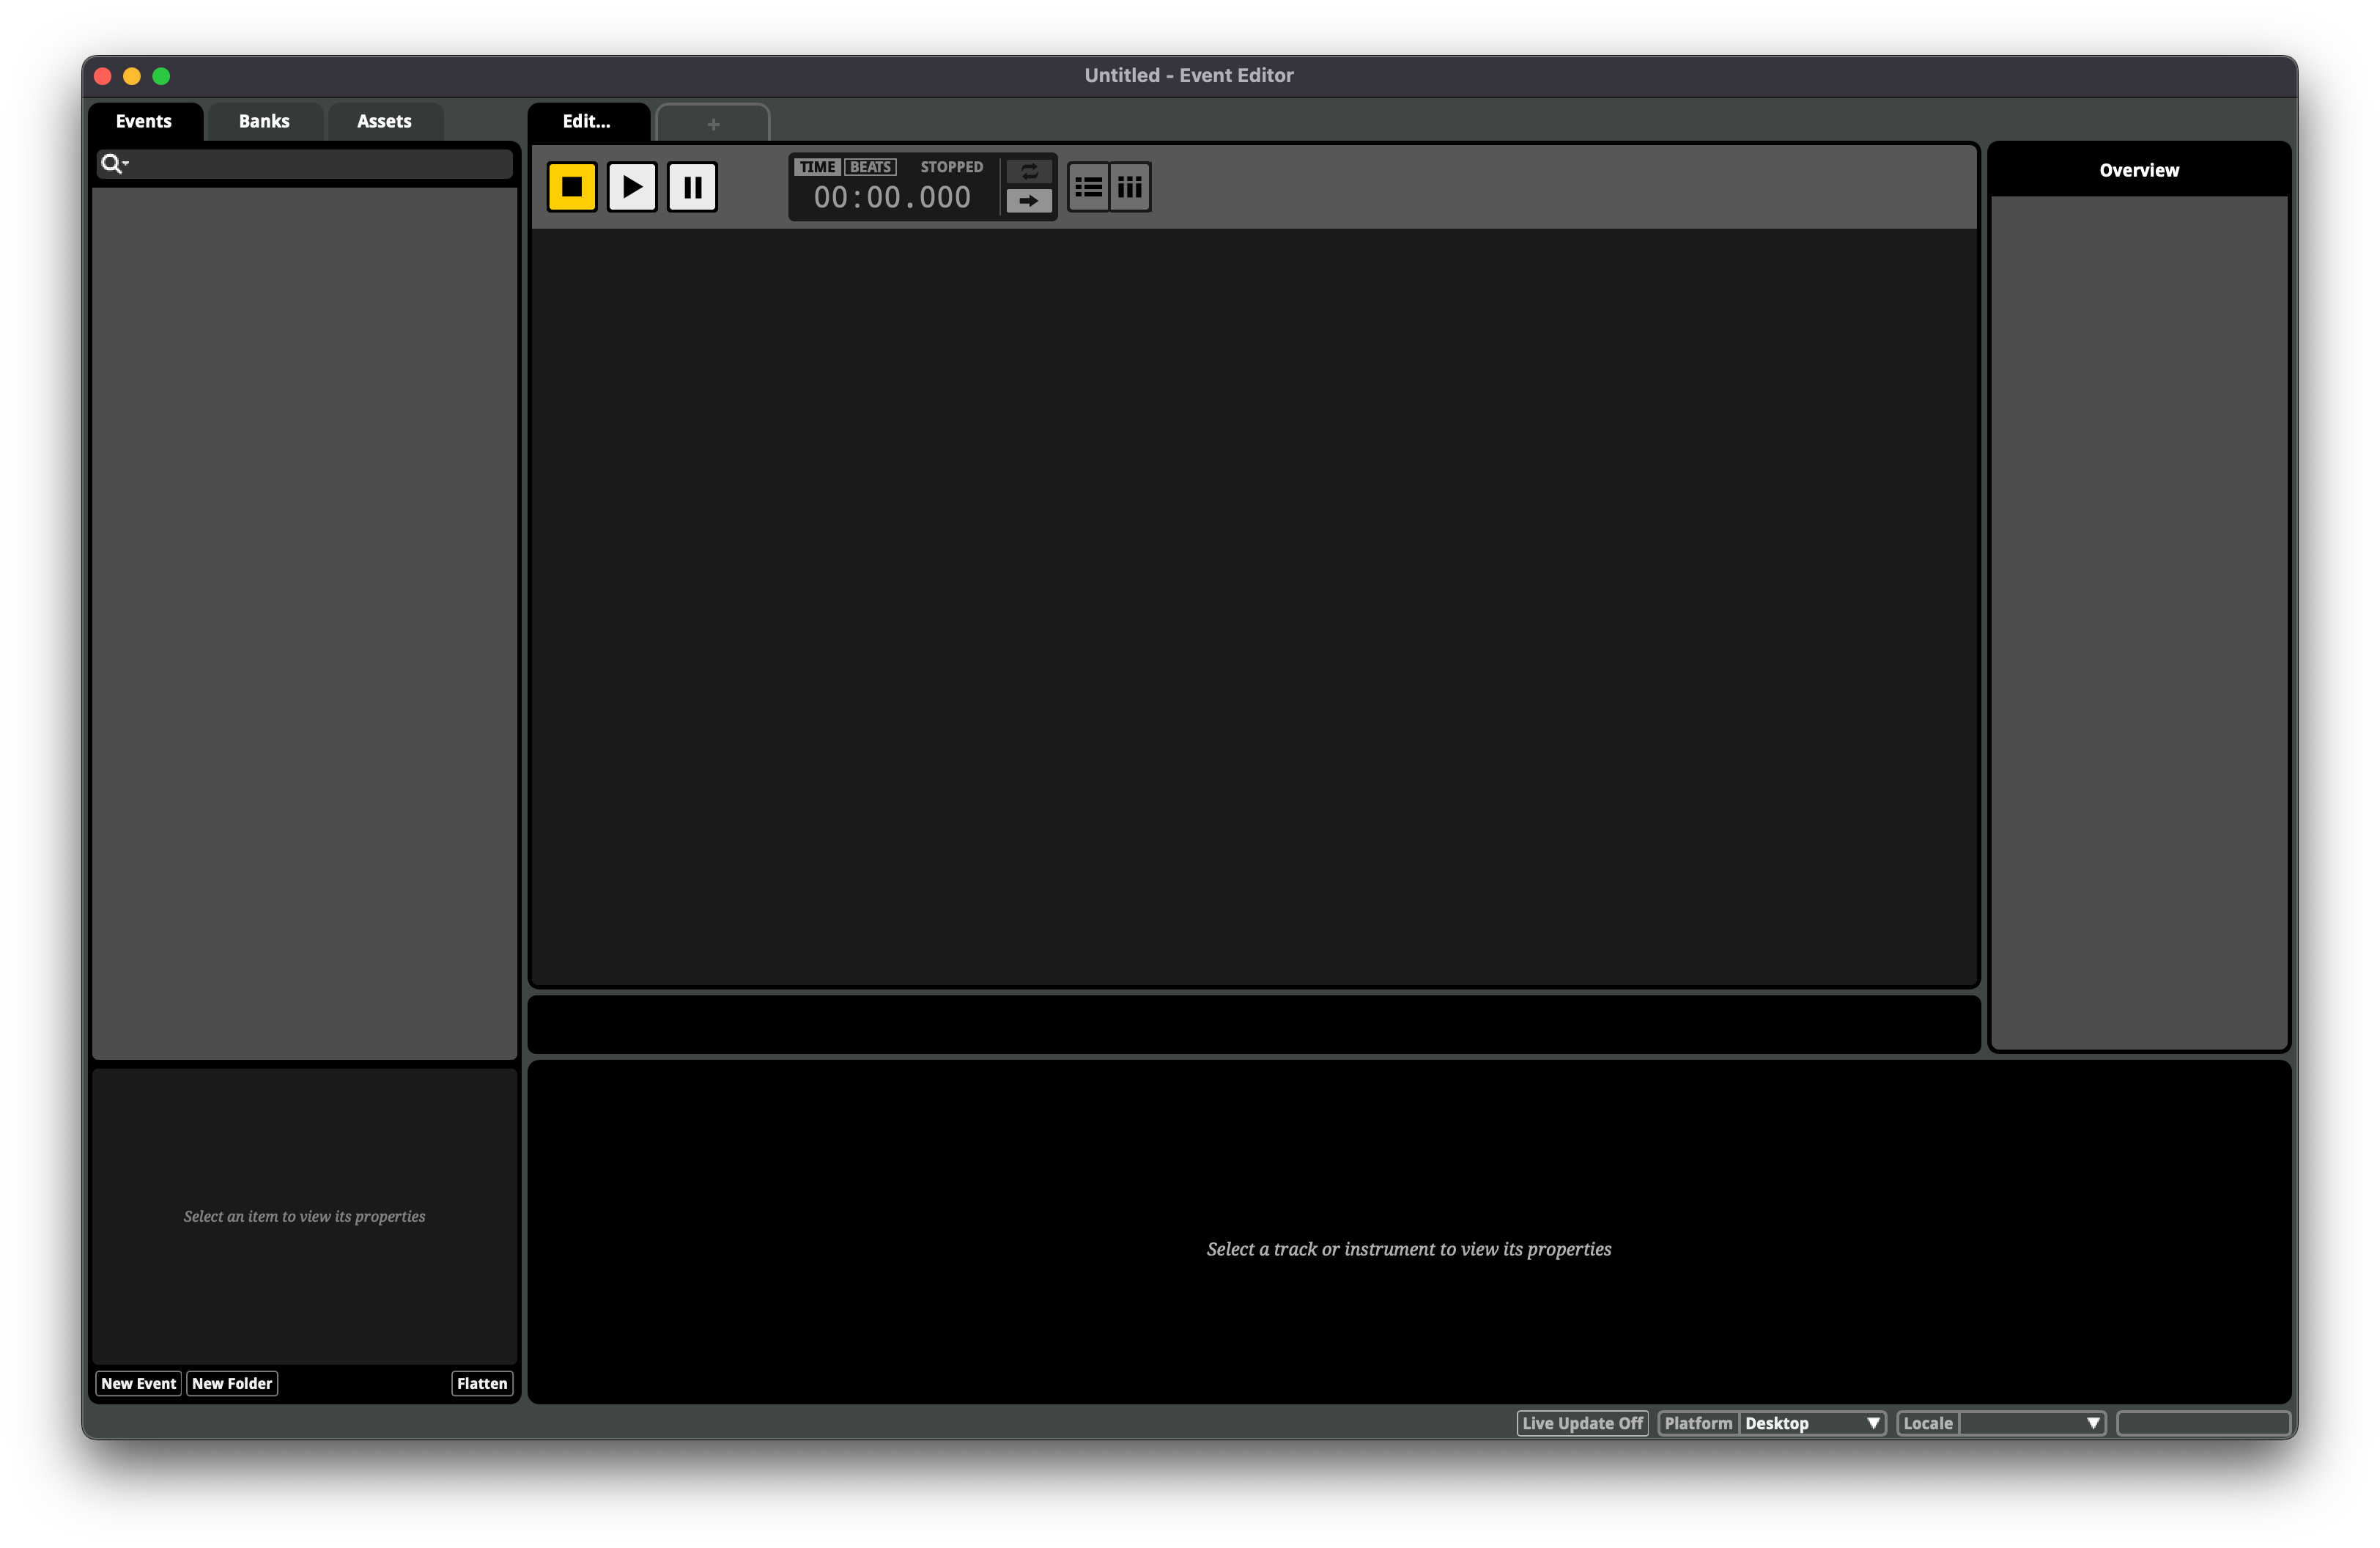
When choosing our audio engine, we were selecting primarily for flexibility, programmability, and extensibility. We didn’t know exactly how the visual and auditory manipulations of the underlying work would take shape and were considering ideas that would have involved effect chains and stem splitting. The only option we found that would provide all the necessary functionality to power the proposed ideas was FMOD.
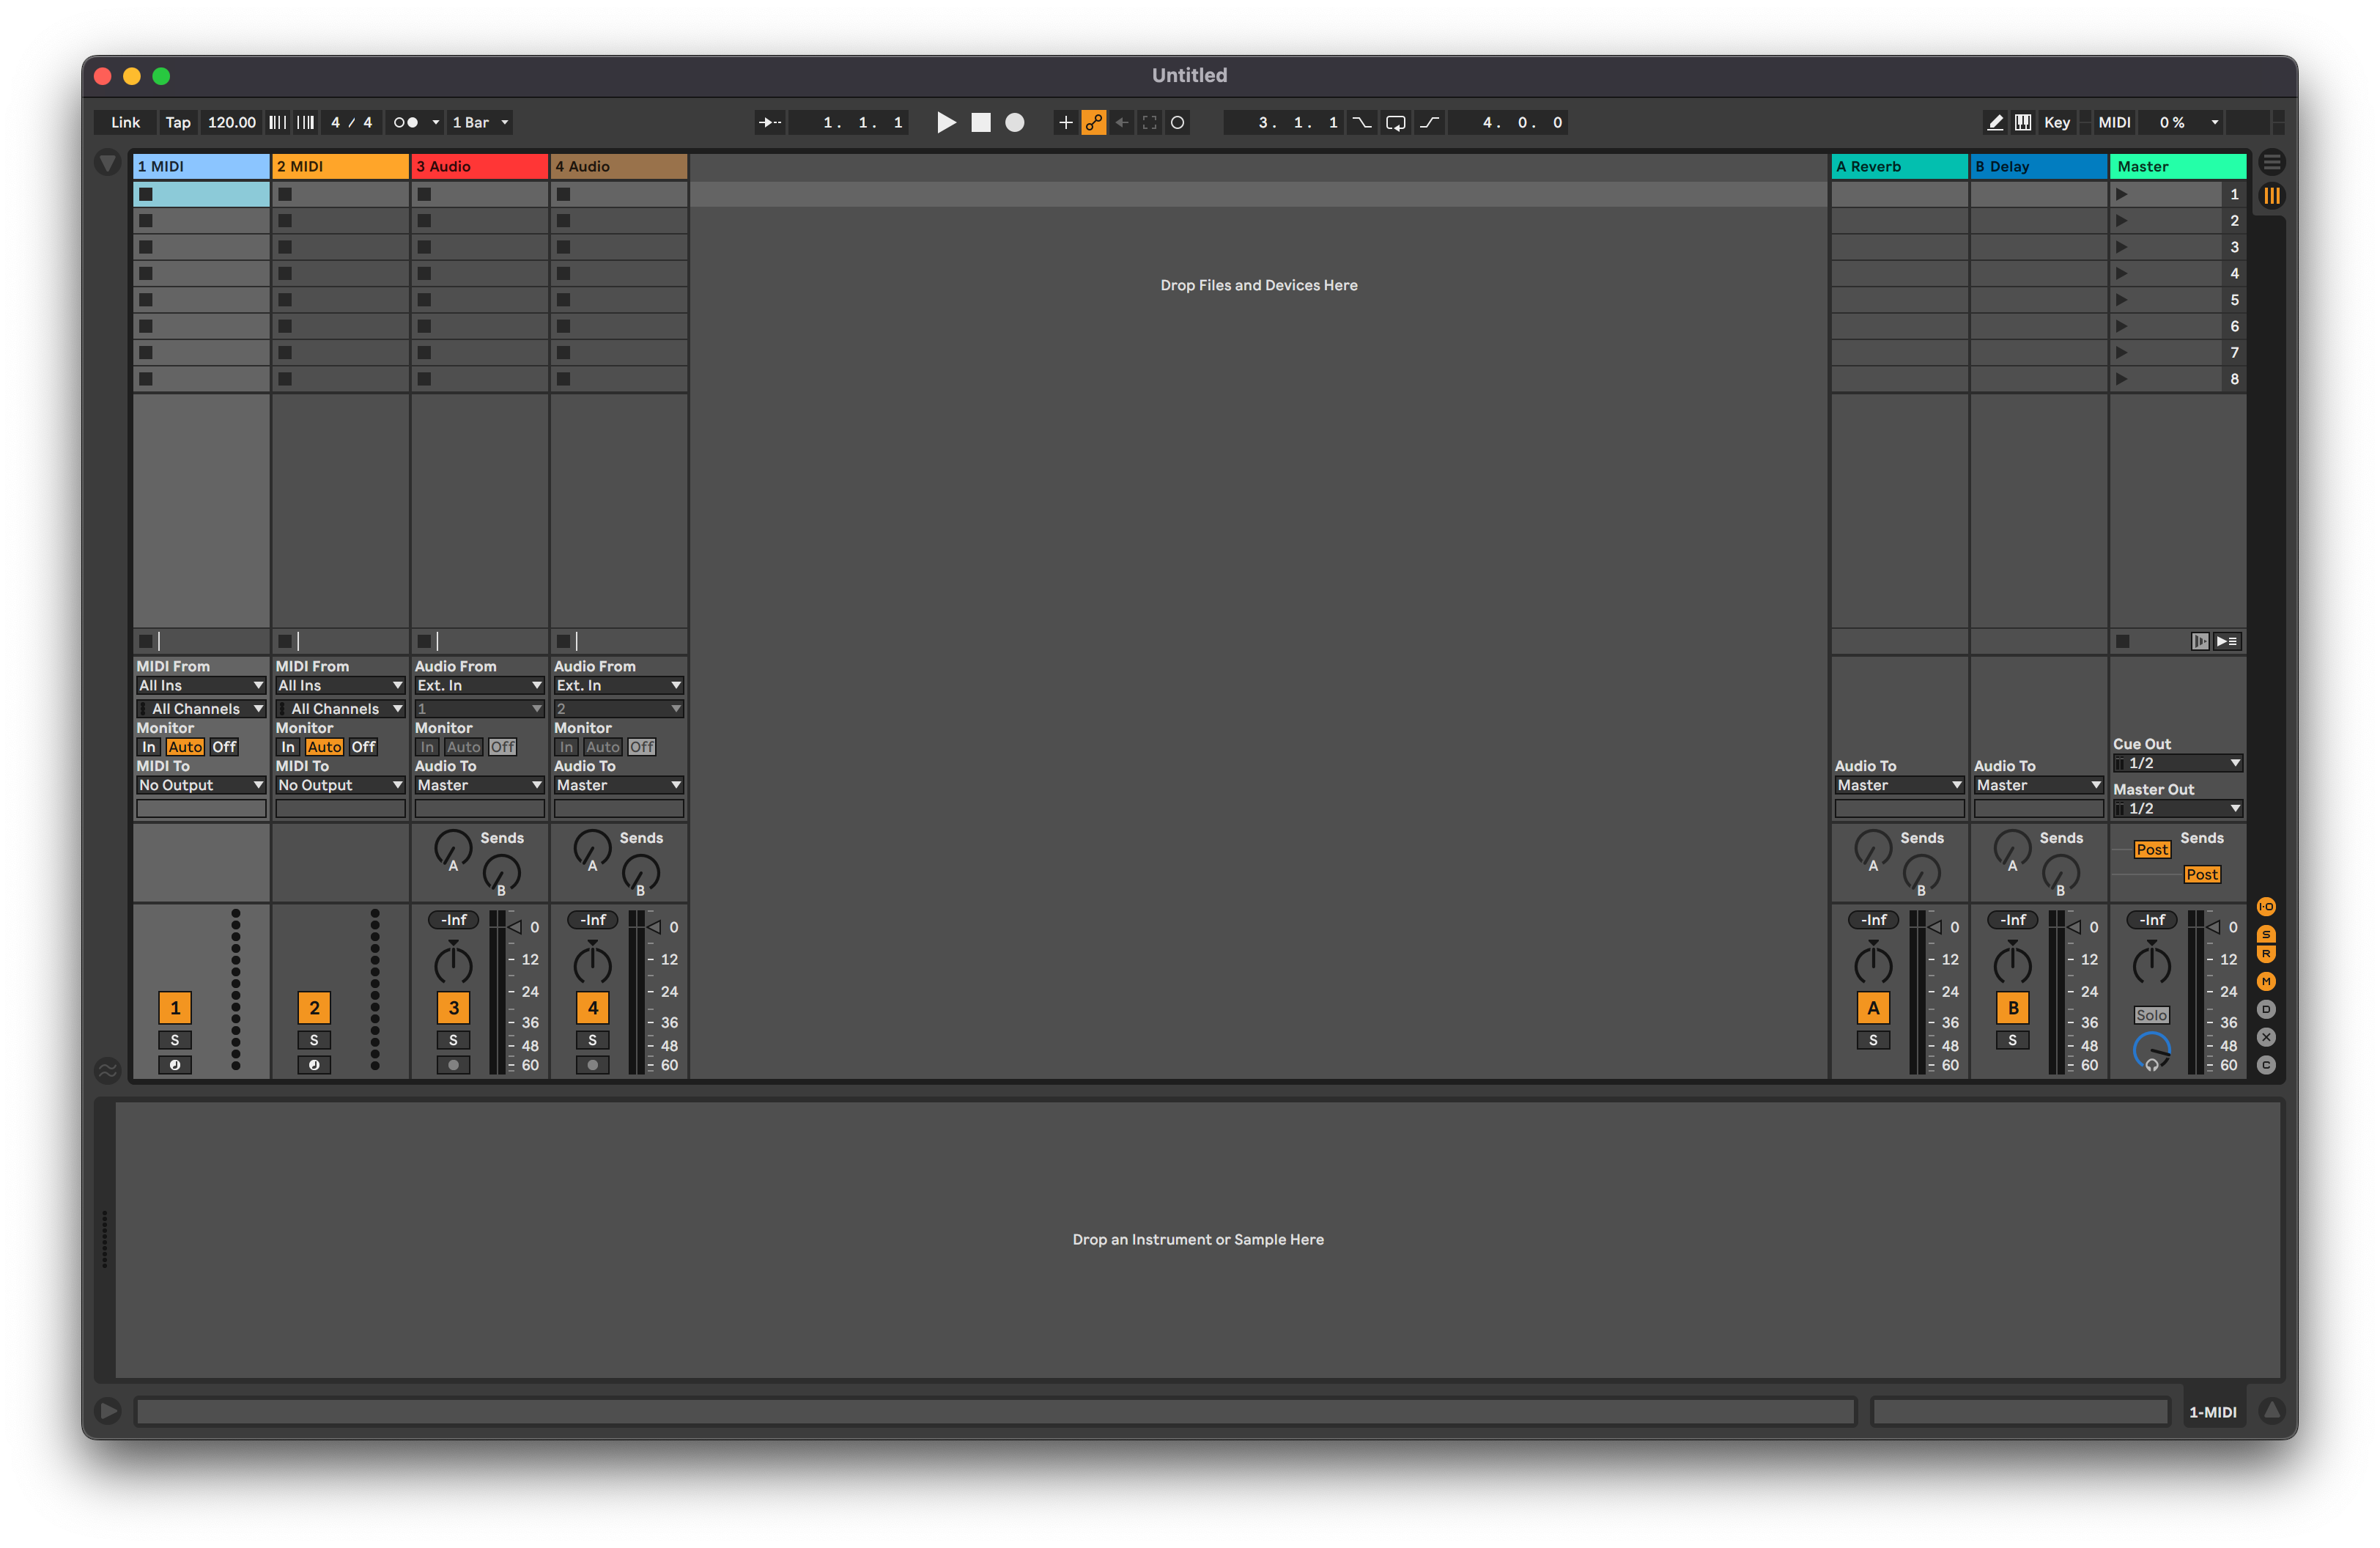
While the final version of audiobook.gallery leans primarily towards visual distortions over auditory ones, working with FMOD was a fun experience coming from a background of music composition and production. My digital audio workstation (DAW) of choice is Ableton, and I had never worked with an interface for in-game music that felt so similar to what I was naturally used to working with as a musician.
Envelope Followers, the Building Block of Audio-Reactivity
From my time at CCRMA, I knew that one of the simplest ways to make something feel audio reactive is to link a visual feature to an envelope follower. At a basic level, an envelope follower allows us to take very noisy, information dense audio samples representing amplitude and extract a smooth signal of the rising and falling of the sound. In a music-oriented scripting language like ChucK, this is a very straightforward task to achieve. Despite using this reference as a starting point, ChucK’s musical slant means that some foundational DSP processes are abstracted away - a nonstarter for what I needed to implement with FMOD and Unity.
Fortunately, a few choice Google queries around Unity, DSP, envelope followers, and “leaky integrators” led me to this blog post outlining the basic principles of implementing an envelope follower with Unity’s native engine. After filling in the remaining details and hacking it together with this example demonstrating spectrum analysis with FMOD (but more importantly how to access the sample buffer) and a handy circular buffer implementation, I had a working envelope follower that exposed the current envelope sample to my other scripts.
One additional implementation note is that for our use case, the envelope signal was still too noisy. While this could be addressed with better windowing and gain settings on the follower, my simple solution was to add further smoothing with a lerping routine in the script where the value was used.
Before wrapping up this post, I just want to thank the developers who wrote the initial code that this envelope follower is based on, and I hope that in sharing this version, someone else will find it similarly as helpful! Stay tuned for the final part in our series:
---
Up next in “the making of audiobook.gallery” - A deep dive on the visual effects we built for the audiobook listening rooms, powered by this envelope follower and Unity’s Shader Graphs.
recycleReality is now Router.
recyclereality.net will remain archived if you'd like to explore our prior brand and portfolio.